Use AI²
In this tutorial, you use natural-language prompts to register whoami, start one instance in an edge cloud zone, retrieve its access endpoint, and remove it again. This follows the same workflow as Deploy your first application, using the AI² chat in the Portal, powered by a Groq model.
Before you start
You need:
- A running platform with an edge cloud zone, as described in Deploy with Helm.
- An App Provider account with access to the
edge-application-managementAPI product. See Manage users and access. - A running AI² Agent connected to the Portal and to the AI² MCP Module, which calls OEG.
- A Groq API key configured as
GROQ_API_KEYon the AI² Agent server. Ask your platform administrator to configure it, or, if you installed the platform yourself, set it inai2.secrets.groqApiKeyas in Deploy with Helm, step 1.
The AI² MCP server can also be used through other compatible MCP clients. For this tutorial's purposes the Portal chat is used with the Groq-backed AI² Agent throughout.
1. Open the chat
Sign in to the Portal and select AI² in the sidebar.
Submit the prompts below in the Portal chat, one at a time, and inspect each response before continuing.
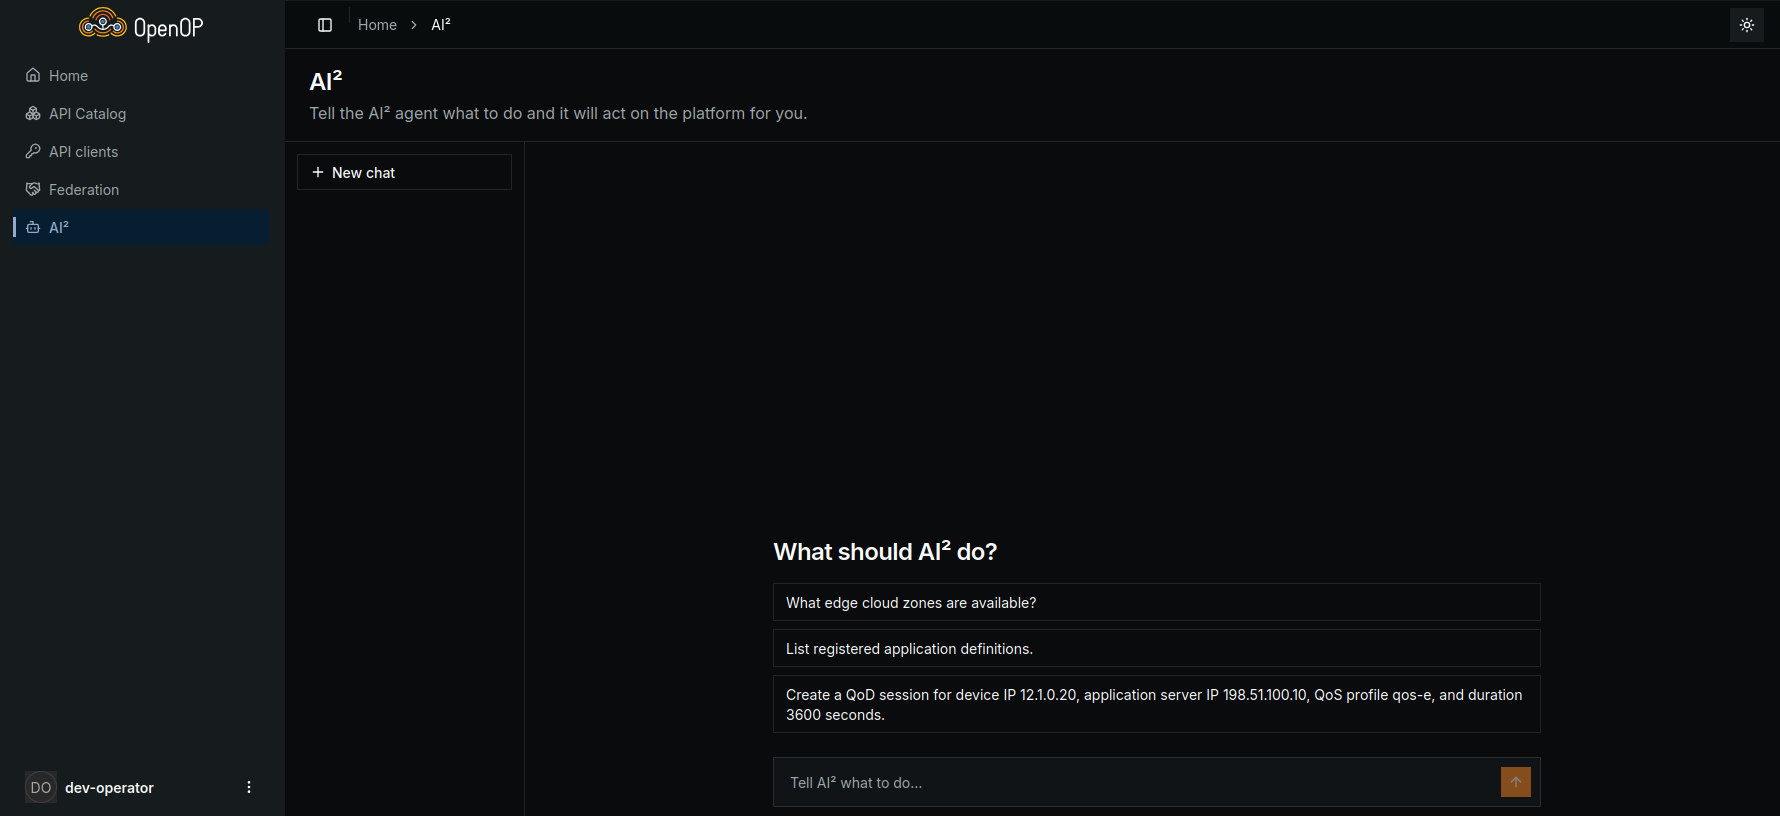
Keep the IDs returned during this tutorial. Replace <ZONE_ID>, <APP_ID>, and <INSTANCE_ID> in later prompts with the actual values. Explicit IDs let you continue even if earlier messages are no longer in the chat's context. Do not submit the angle-bracket placeholders literally.
2. Find an edge cloud zone
Ask:
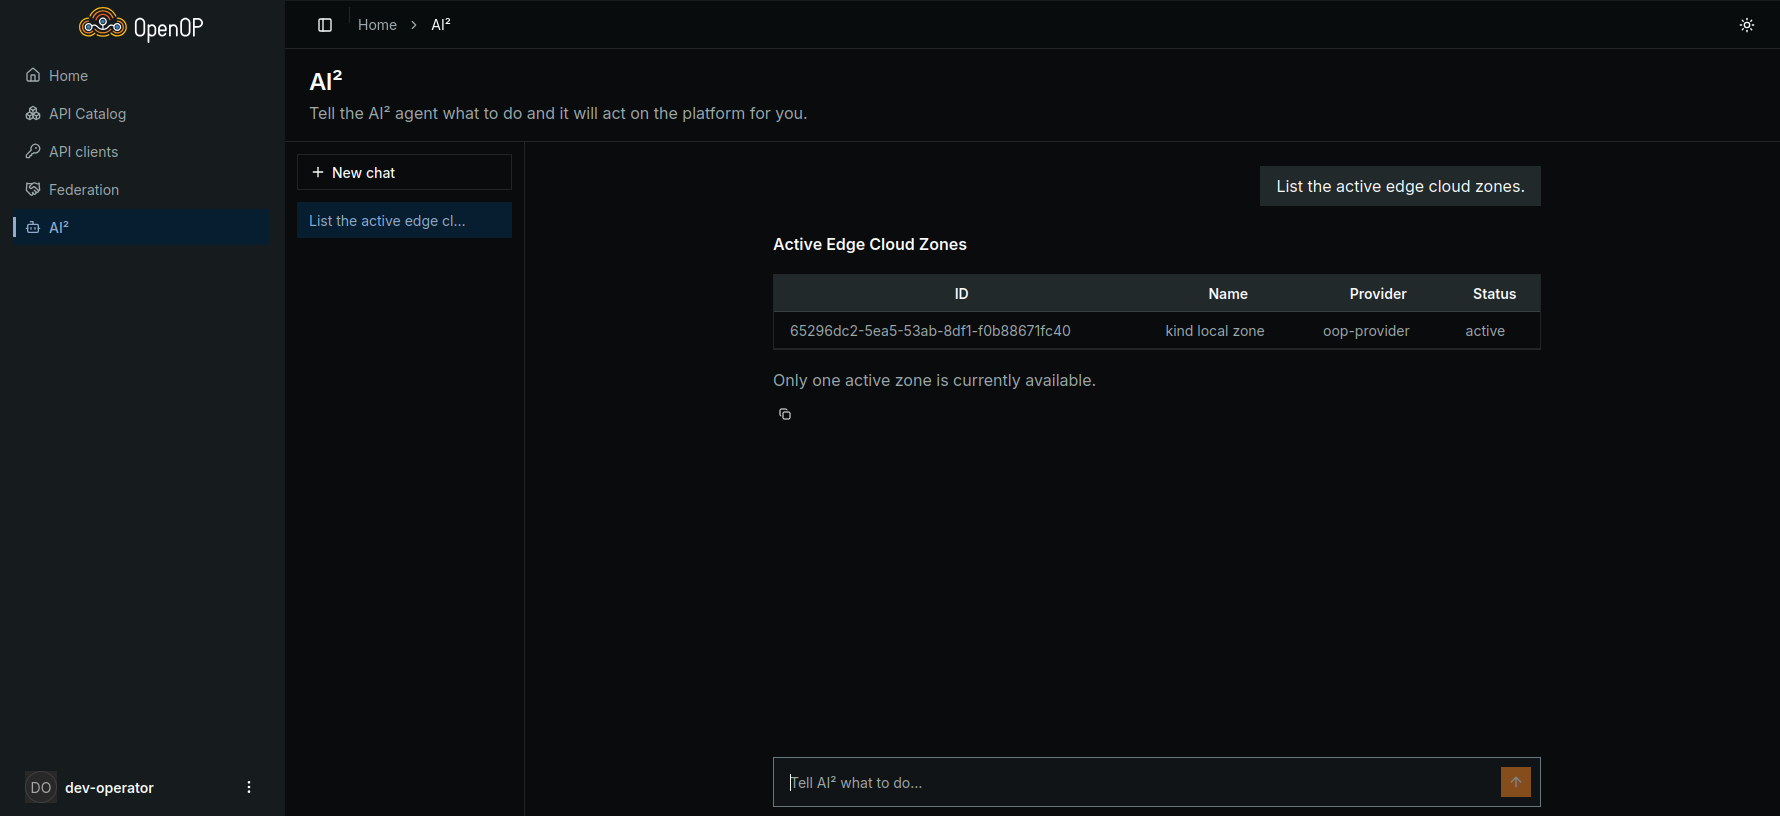
On the kind setup, look for kind local zone. Save its edgeCloudZoneId as <ZONE_ID>. If you are using another installation, choose an active zone available to you.
3. Register the application
Send this prompt to register the same application and resources as the original tutorial:
Register an application with these details:

- Name: whoami
- App provider: tutorial_provider
- Version: "1.10"
- Package type: CONTAINER
- Repository type: PUBLICREPO
- Container image: traefik/whoami:v1.10
- Component name: web
- Network interface ID: http
- Protocol: TCP
- Port: 80
- Visibility: VISIBILITY_EXTERNAL

Use these requiredResources:
{
  "infraKind": "kubernetes",
  "applicationResources": {
    "cpuPool": {
      "numCPU": 1,
      "memory": 128,
      "topology": {
        "minNumberOfNodes": 1,
        "minNodeCpu": 1,
        "minNodeMemory": 256
      }
    }
  },
  "isStandalone": false
}
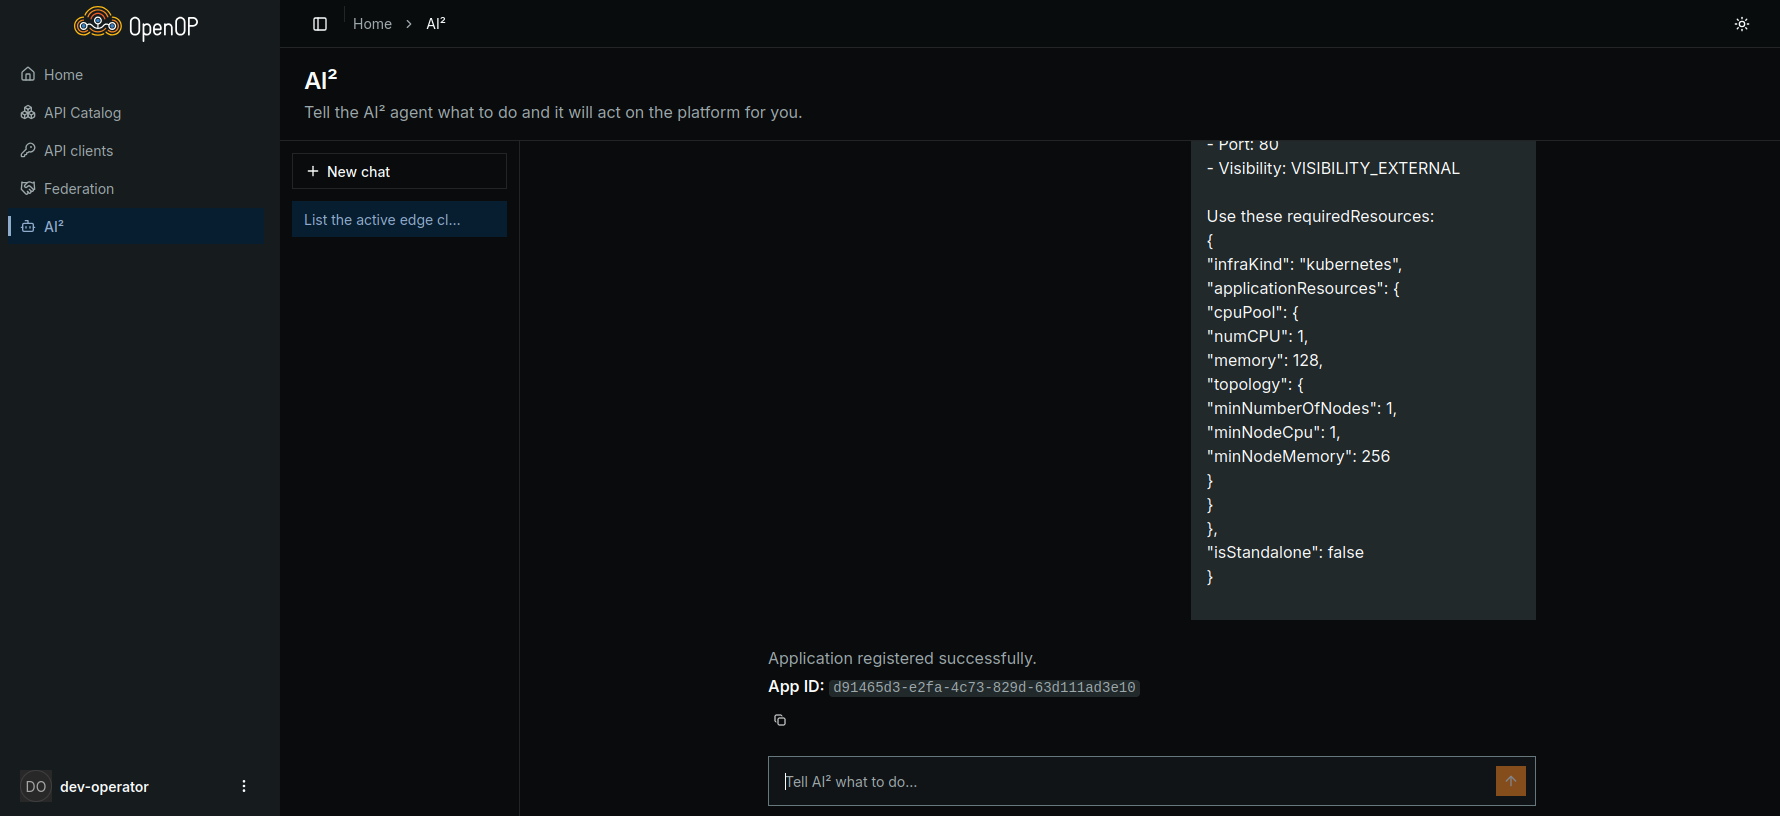
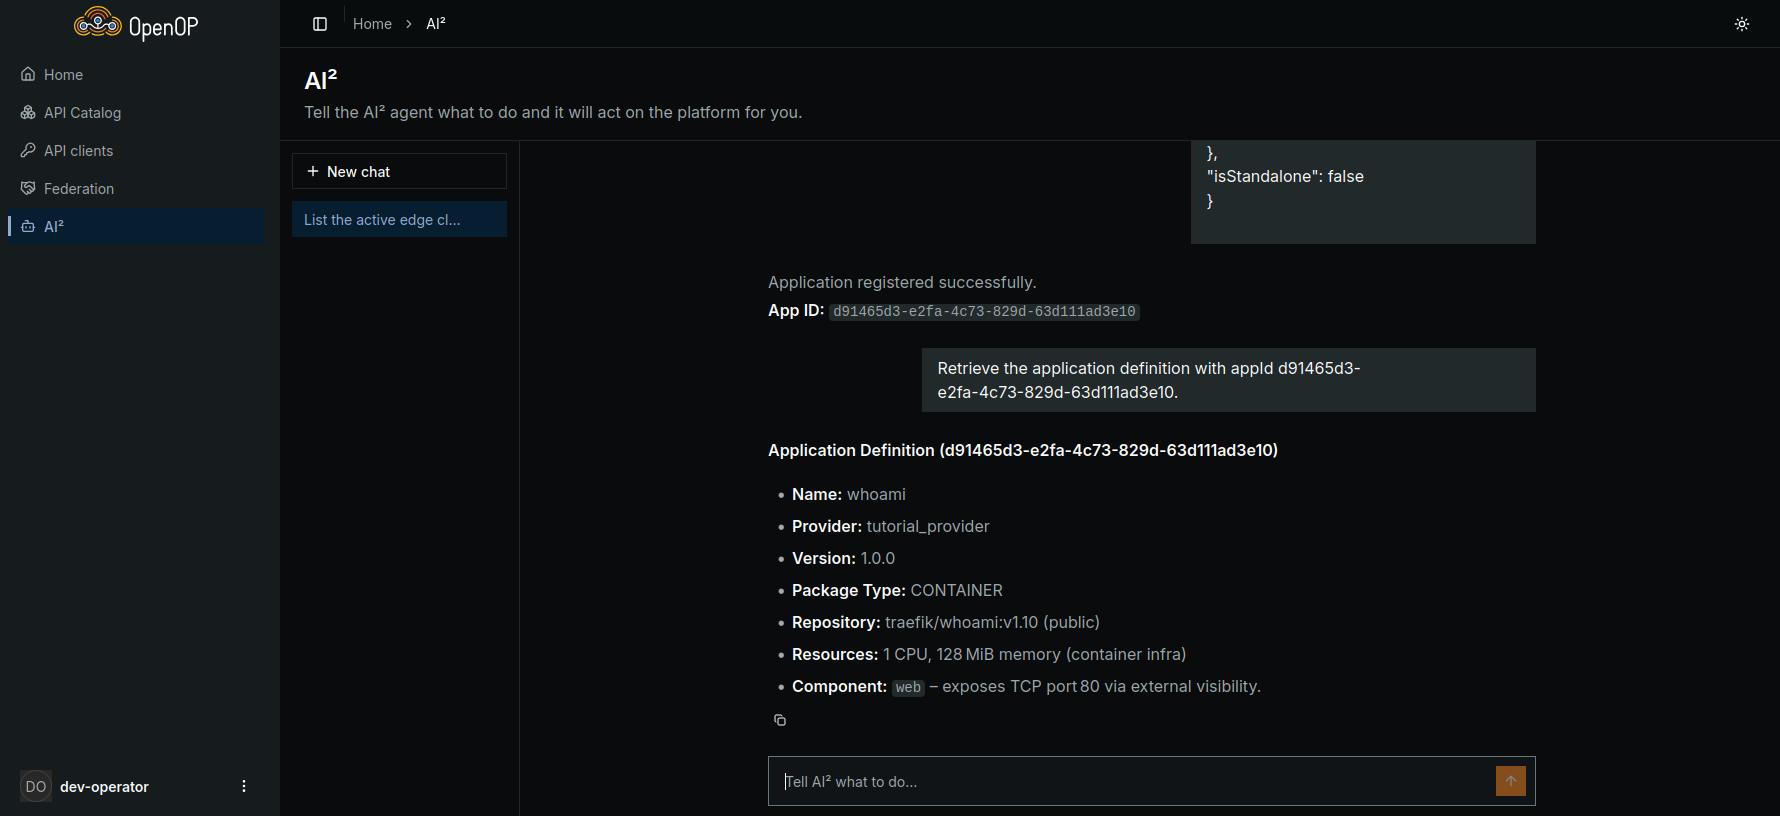
Save the returned appId as <APP_ID>. Verify the stored definition with a separate request:
Check that the retrieved values match the registration prompt. The application is now registered, but no instance is running yet.
4. Start an instance and check its status
Following the tutorial again?
The instance name must be available for your application provider in the selected zone. If you have followed this tutorial before, use a new name, such as whoami03, or terminate the previous instance before continuing. If you choose a different name, use it in the later cleanup prompt too.
Ask AI² to create one instance in the zone you selected:
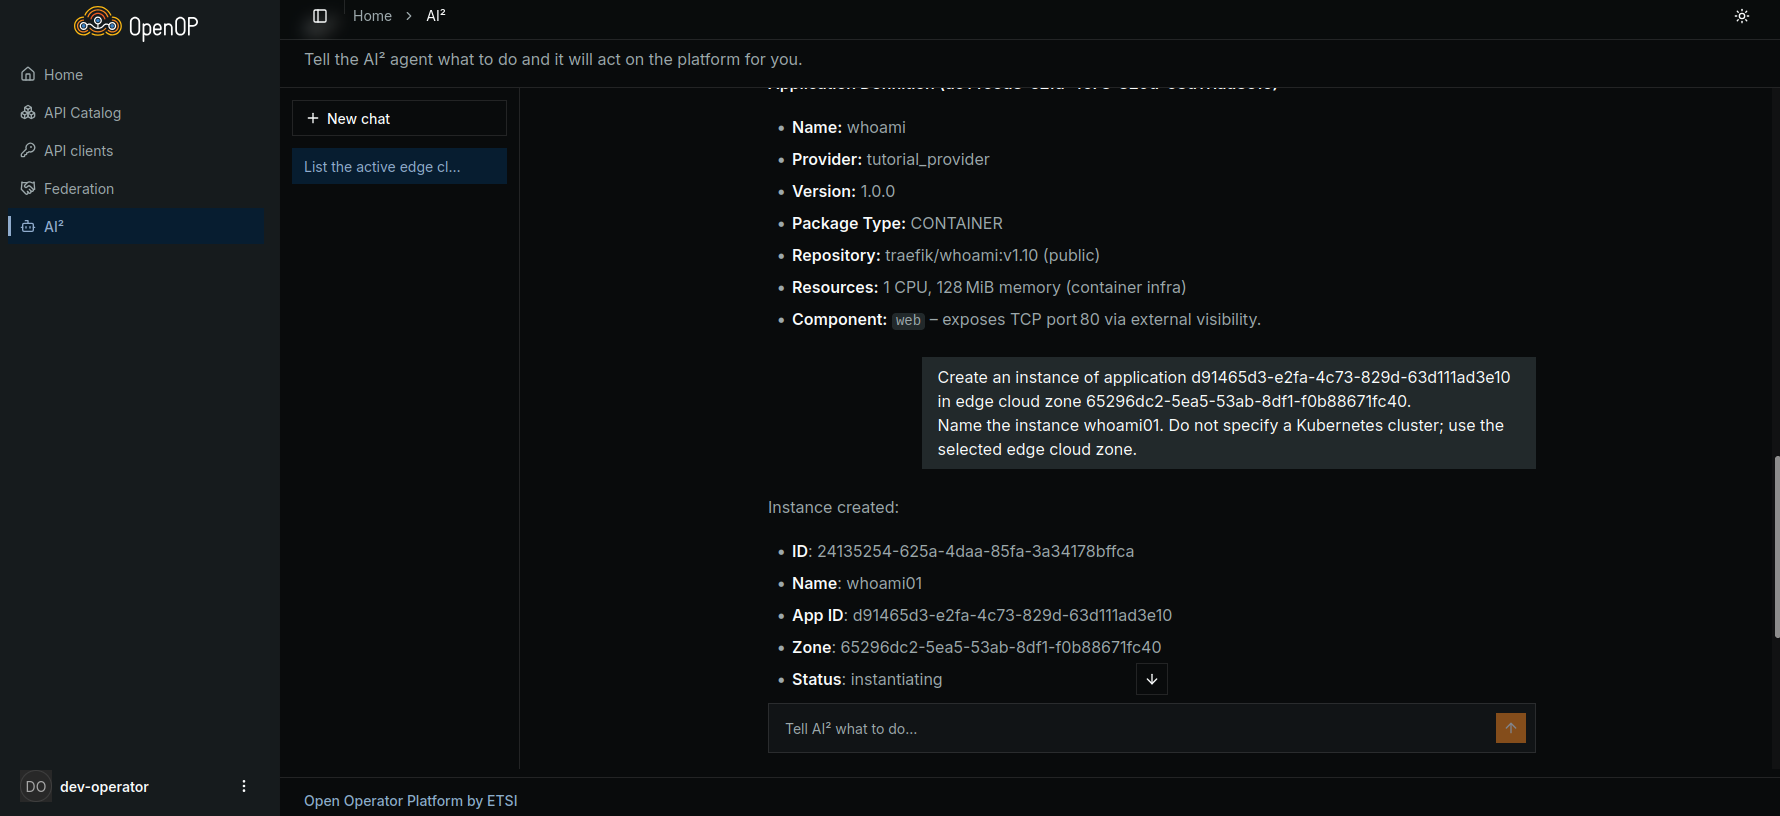
Create an instance of application <APP_ID> in edge cloud zone <ZONE_ID>.
Name the instance whoami01. Do not specify a Kubernetes cluster; use the selected edge cloud zone.
Save the returned appInstanceId as <INSTANCE_ID>. The initial status may be instantiating. An accepted request means that the platform has started processing it, not that the application is ready.
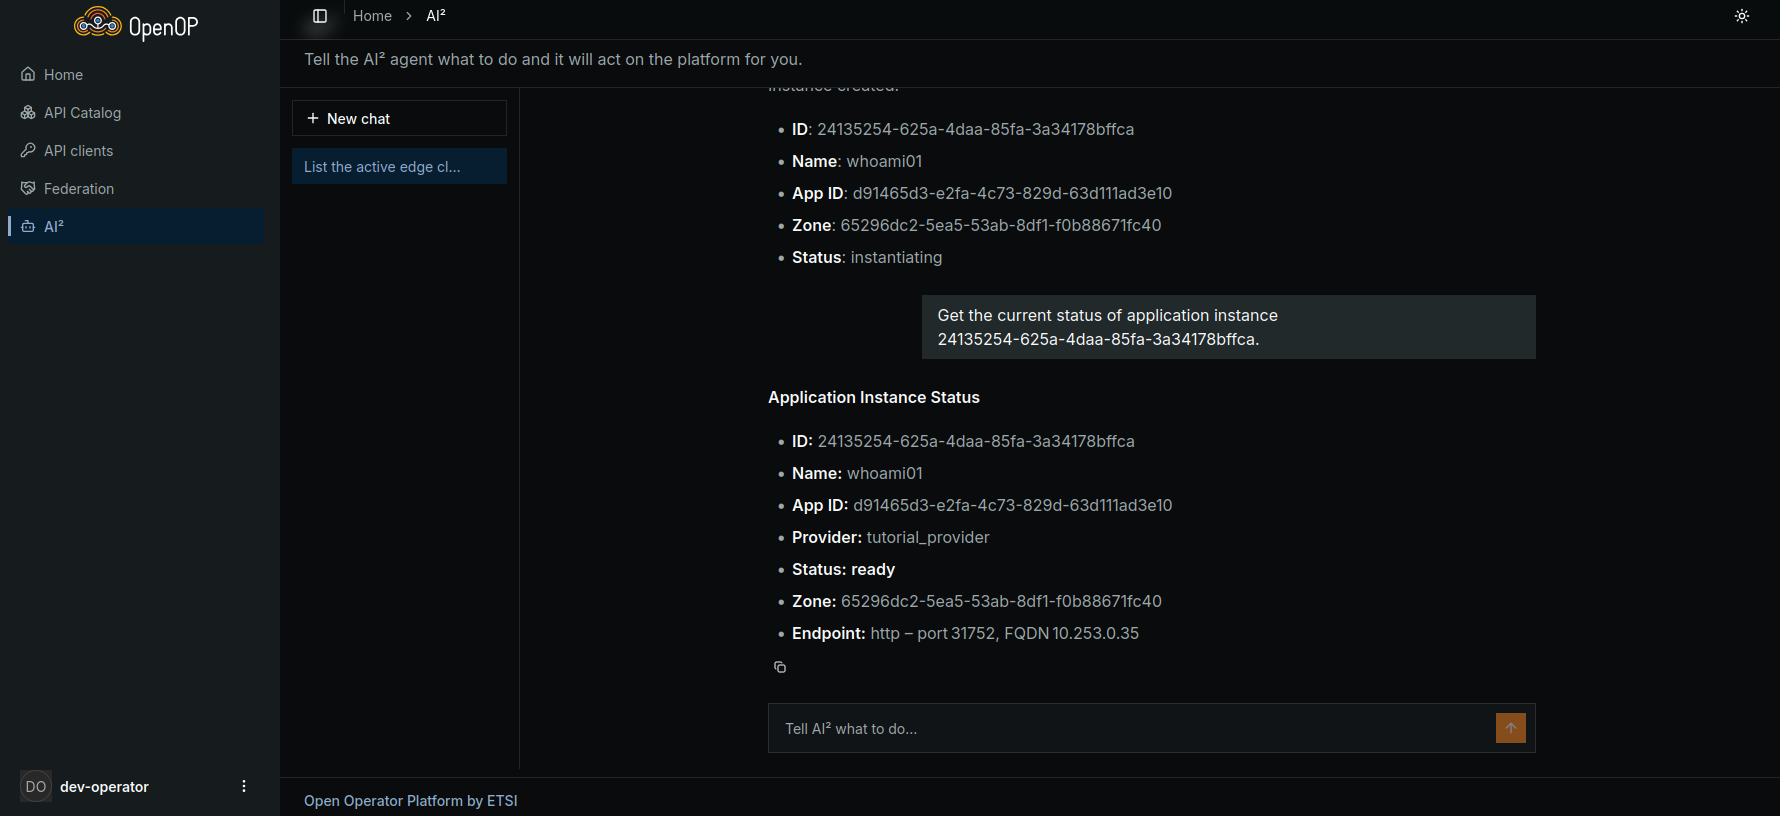
Next, check whether the instance is ready:
If the status is still instantiating, wait a few seconds and repeat the prompt. Continue only when it is ready.
| Status | Meaning |
|---|---|
instantiating |
The platform is starting the application. |
ready |
The application is running. Retrieve its endpoint to access it. |
failed |
The application could not be started. |
If it becomes failed, or stays instantiating for several minutes, see Troubleshooting.
5. Reach your application
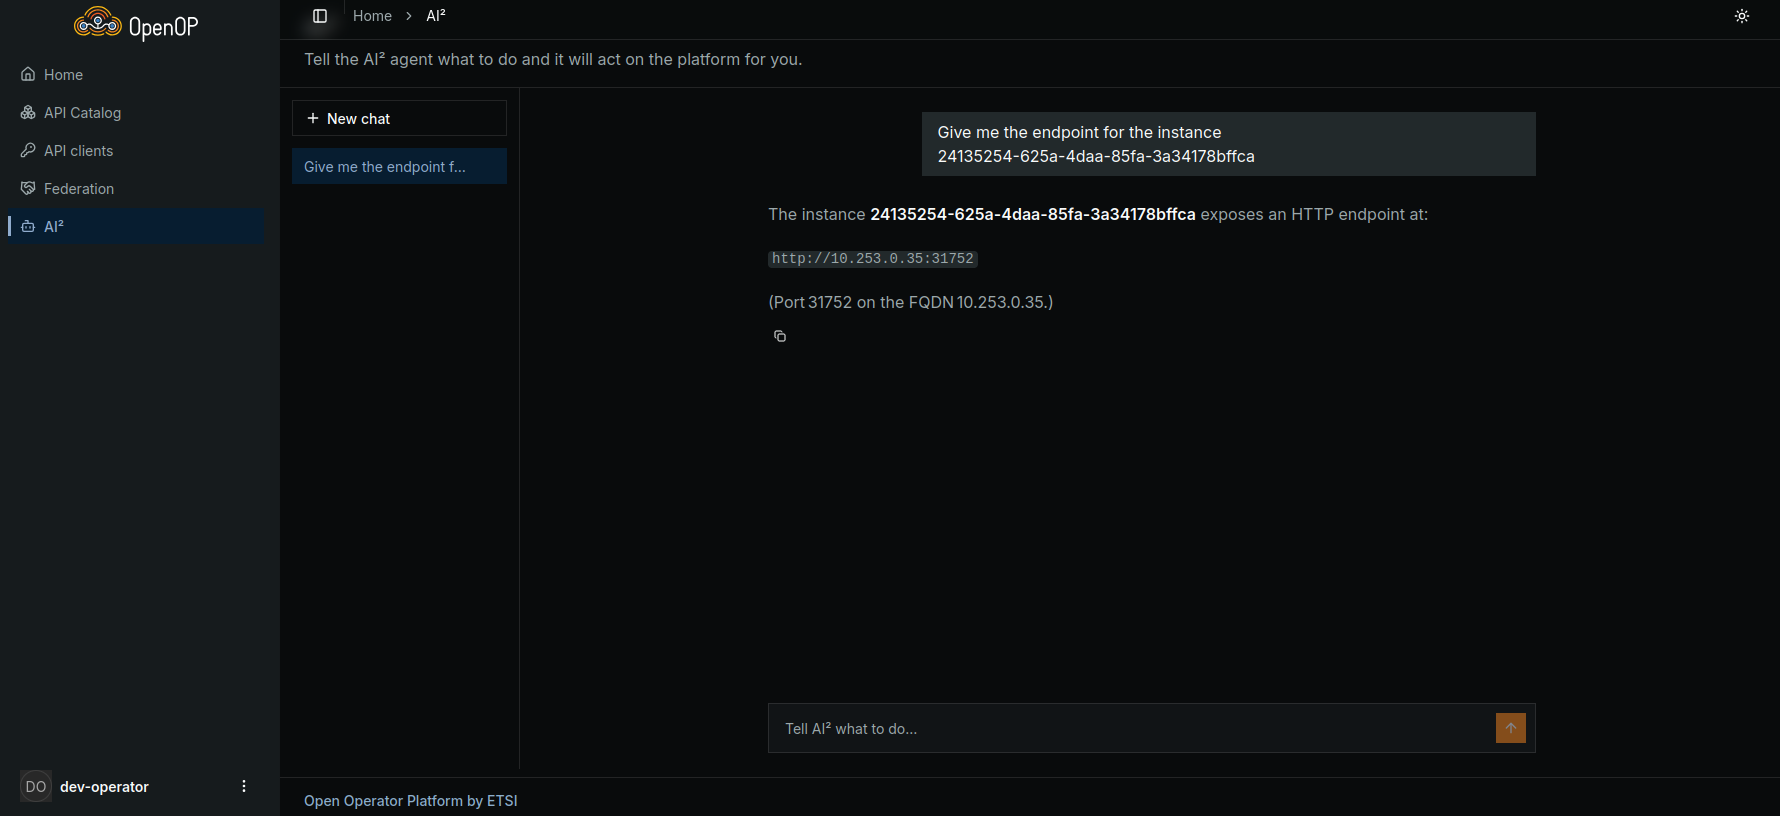
Retrieve the endpoint:
Open the returned URL in your browser, or run the following command in your terminal, replacing <address> and <port> with the returned values:
AI² retrieves the endpoint through which you can access the application.
6. Terminate the instance
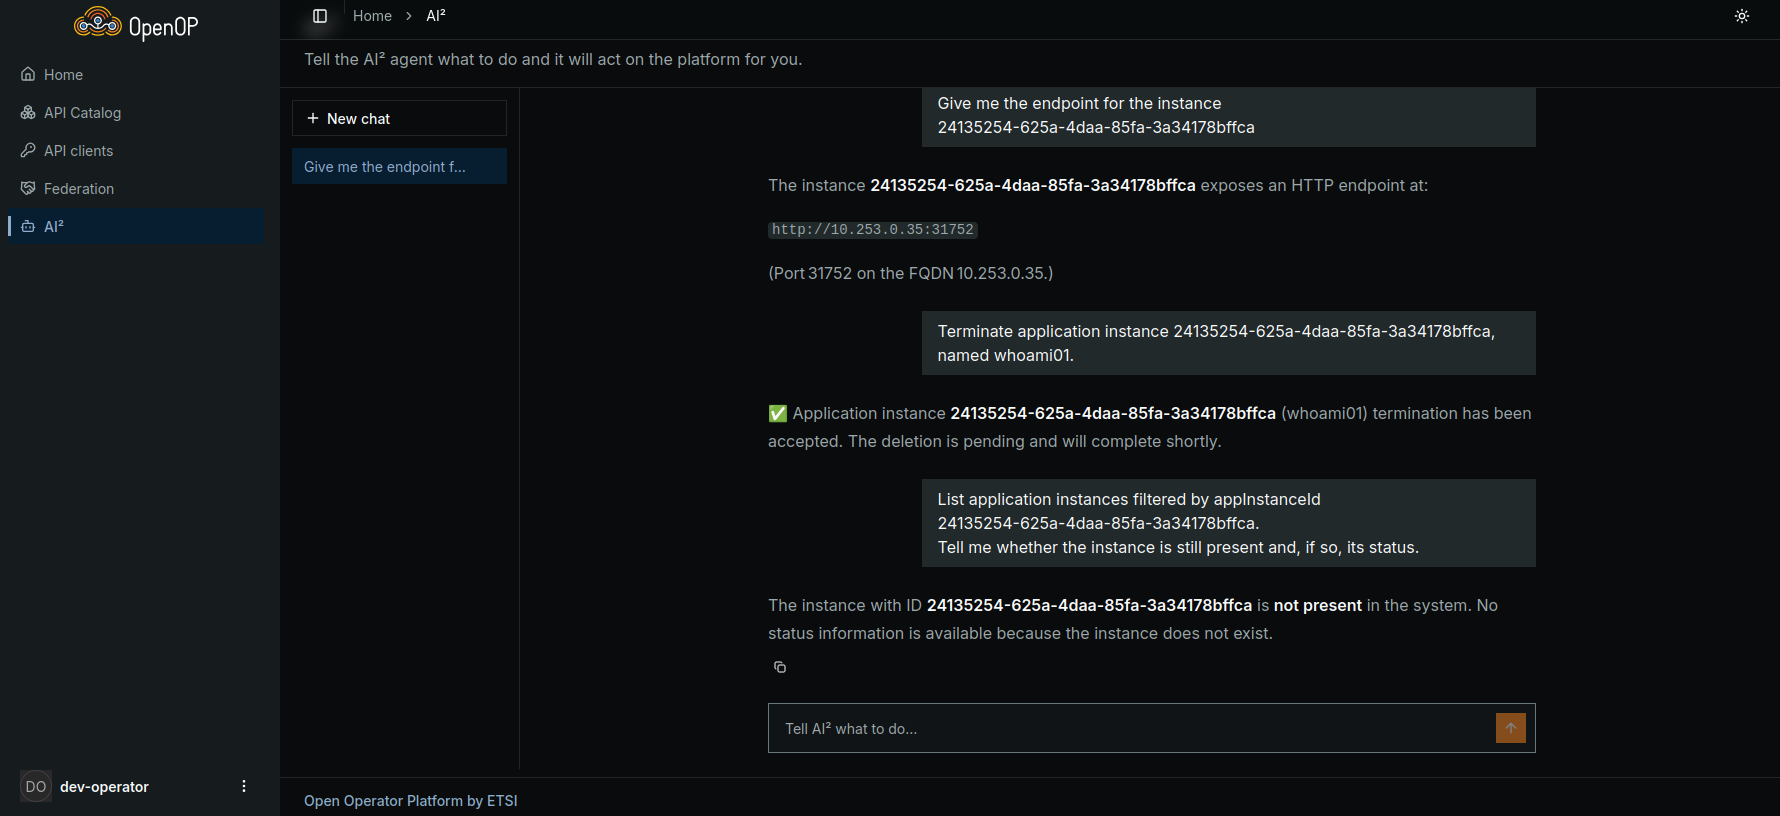
When you have finished testing, ask:
Termination is asynchronous. Check whether the instance is still present:
List application instances filtered by appInstanceId <INSTANCE_ID>.
Tell me whether the instance is still present and, if so, its status.
If it is still listed, wait a few seconds and repeat the check. Continue when the filtered list is empty.
7. Remove the application
The application definition remains registered after its instance is terminated. Remove it with:
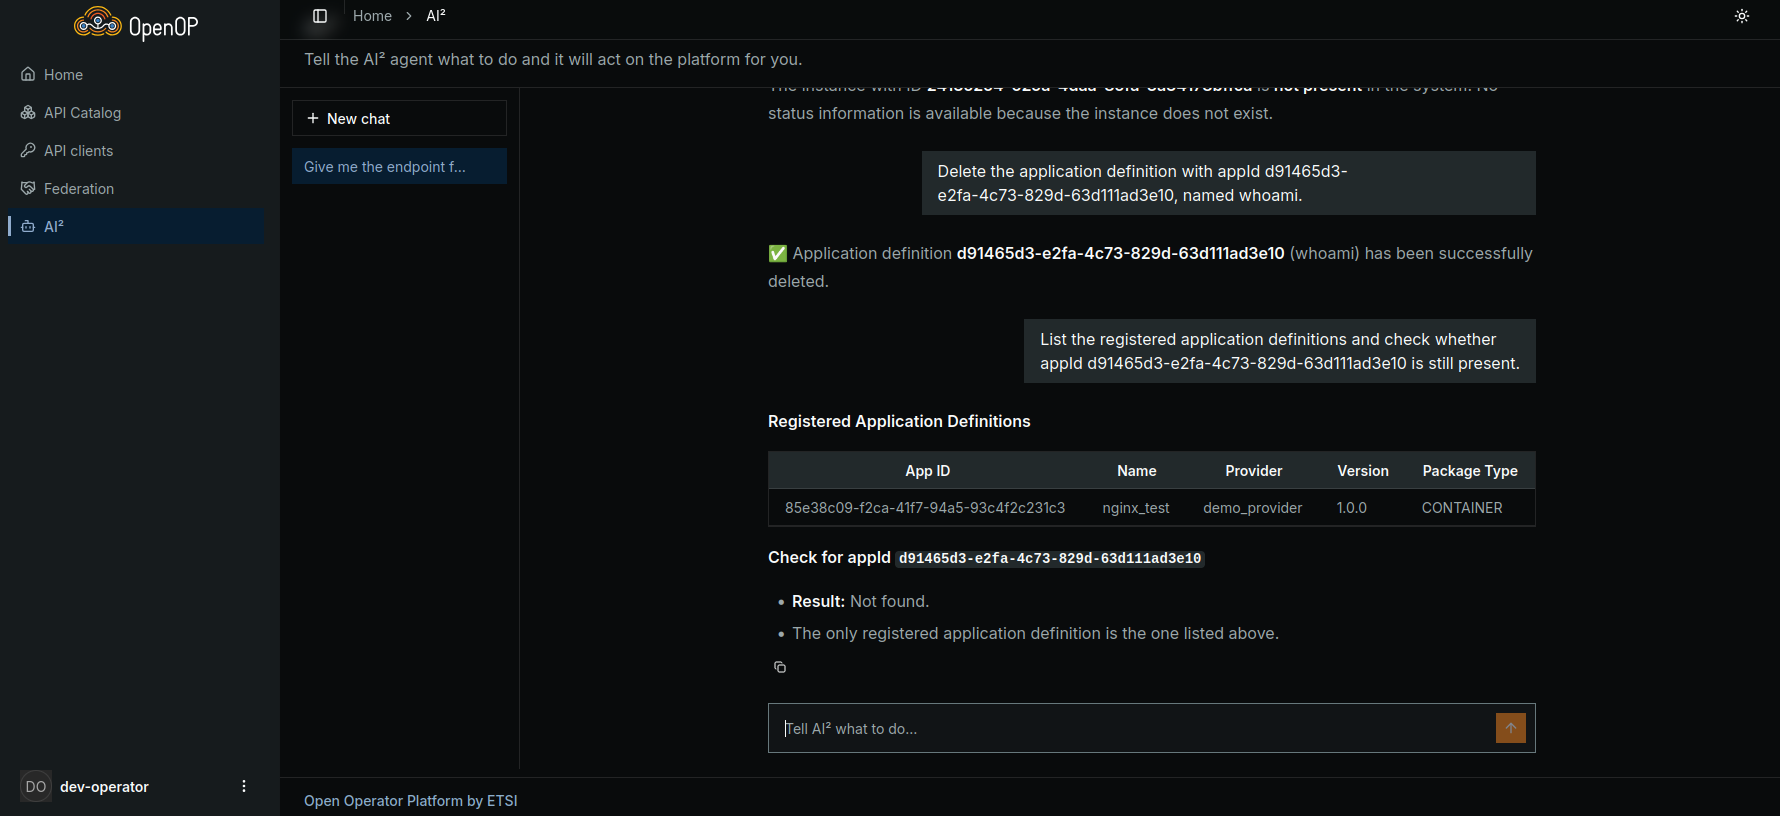
Verify removal:
The application should no longer appear in the returned list.
Instances first
An application cannot be deleted while it still has an instance. If deletion is rejected, list the instances for <APP_ID>, terminate the remaining instances you intend to remove, and wait for termination to complete before retrying.
What you learned
- How to use natural-language requests to discover zones, register an application, start an instance, retrieve its endpoint, and clean up.
- The difference between a registered application definition and an application instance.
- How to check asynchronous operations by querying the platform's current state.
- How AI² uses MCP tools to call OEG, while OEG and SRM perform the application lifecycle operations described in Deploy your first application.
Next steps
- Deploy your first application: compare the same workflow through Portal forms and direct API requests.
- Use network capabilities: explore network capabilities for your application.
- Federate two operators: explore deployment in a partner operator's zone.
- Troubleshooting: investigate an instance that fails to start.